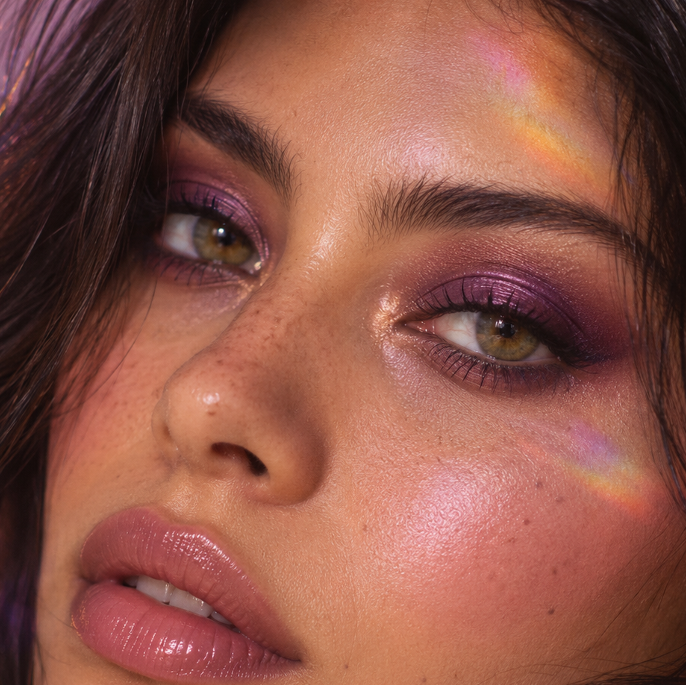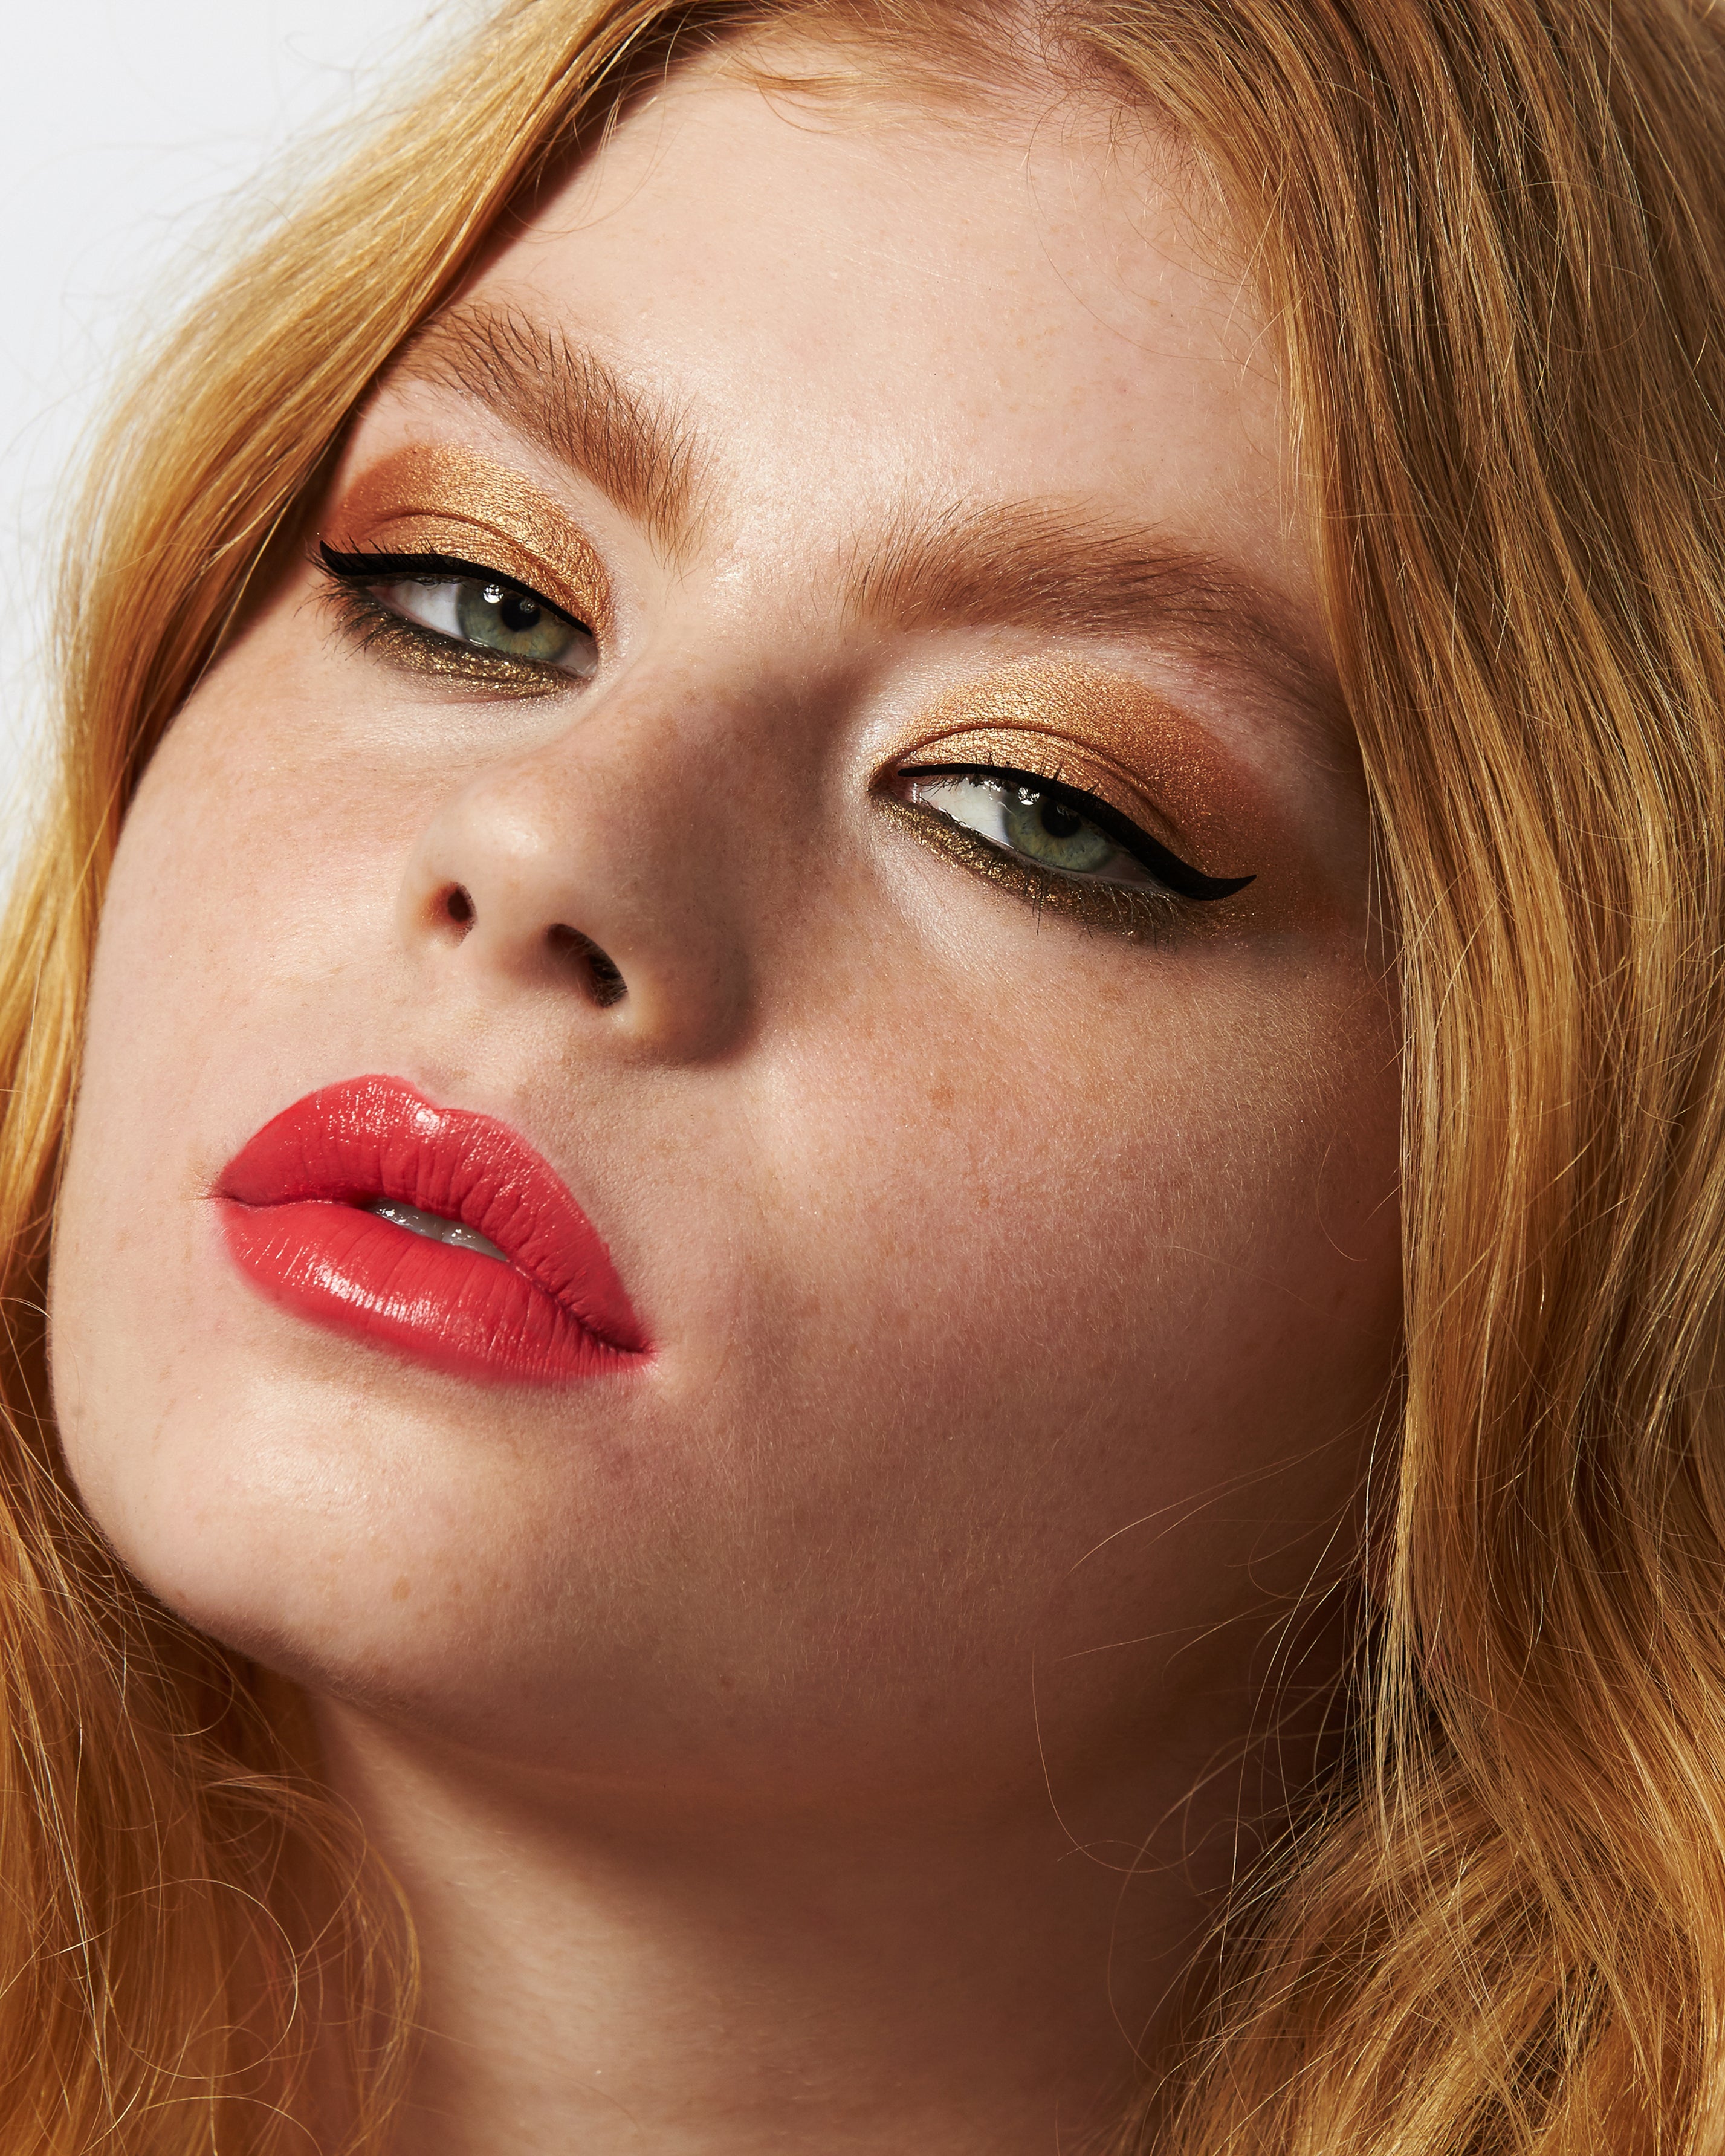


Blush a little higher? Suddenly you have cheekbones. On the apples? You've aged in reverse. Across the nose? You're basically oceanside in the South of France.
Same blush, very different plans. Think O for full, rosy cheeks, C for lifted and sculpted, and W for that fresh-from-the-sun flush. Pick your mood.
O Blush Placement: For Fuller, Rounder Cheeks
O placement is exactly what it sounds like: a soft circle of color right on the apples of your cheeks. It's the placement behind that fresh-faced flush that makes you look like you slept nine hours and actually drank water.
This is for when you want a little more cheek. It adds volume through the center of the face for that round-cheeked look that might just get you carded again. It's especially good on long or narrow faces, and can soften up the angles of a square face too.
How to: Smile to find the apples of your cheeks, then tap your blush onto the fullest part. Keep it round, blur the edges, and resist the urge to blend it halfway to your temples.
One thing: watch how low you go. Once blush starts wandering too far down the cheek, it can pull the face down with it.
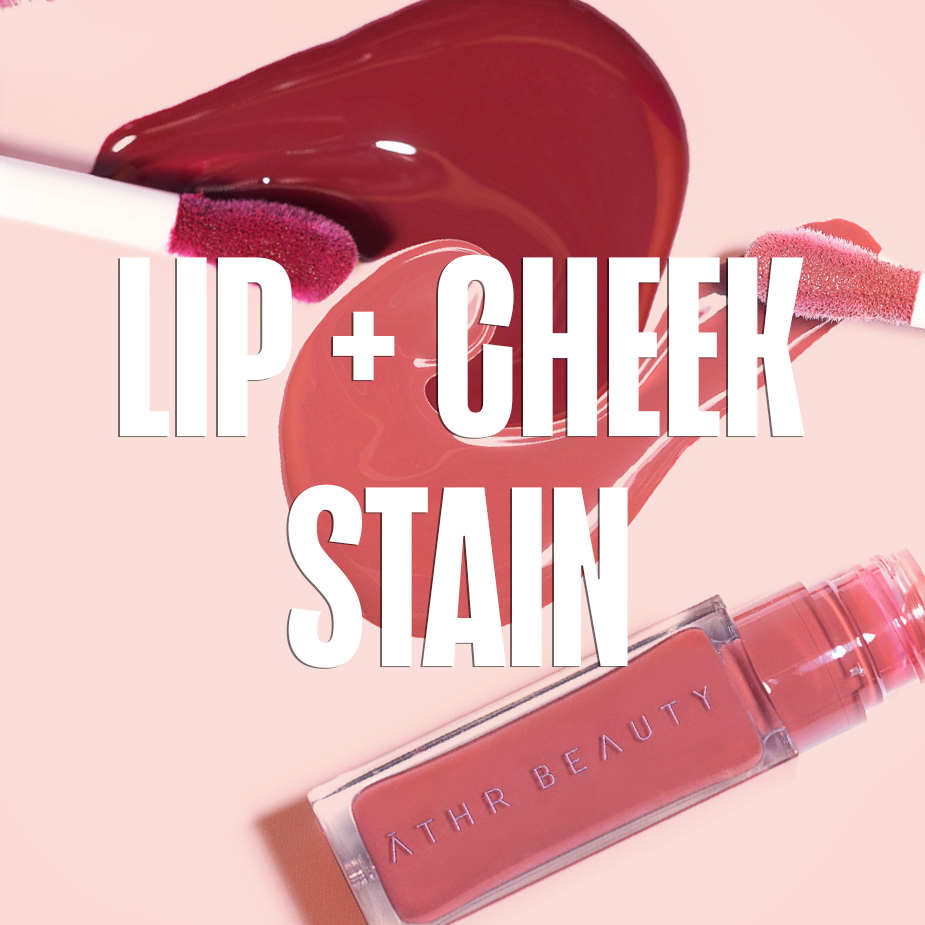
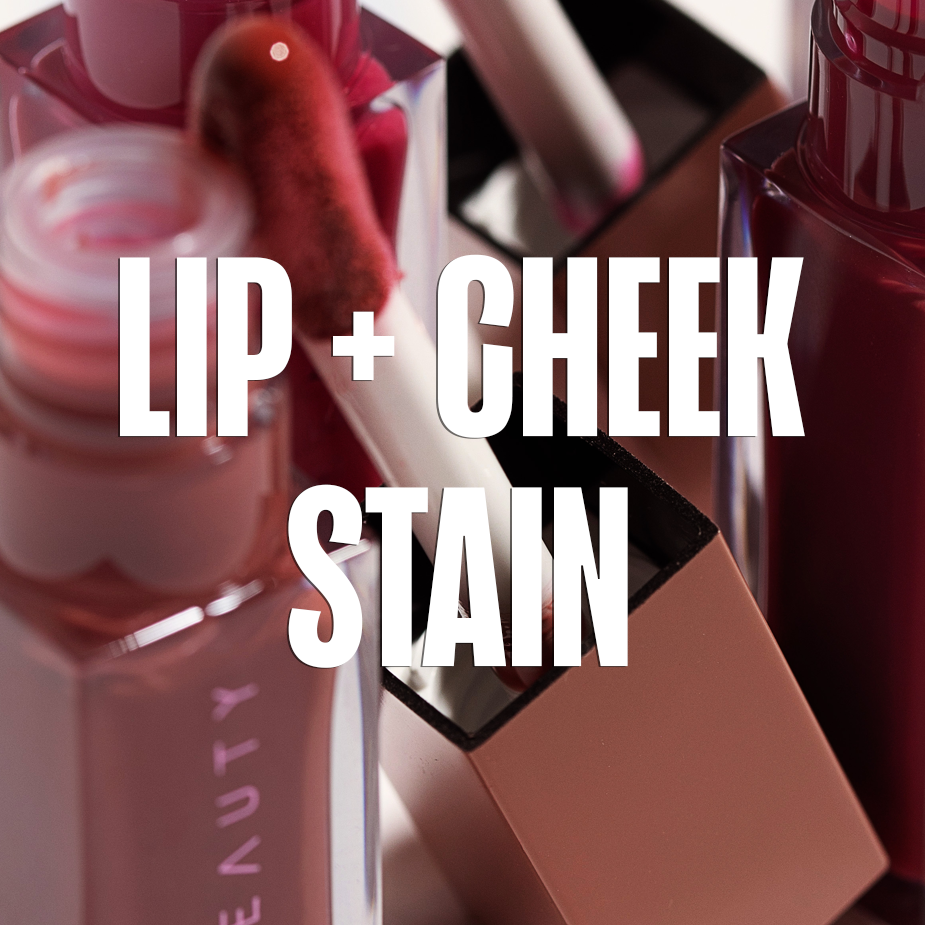
For the O, we love a cream formula. Tap Desert Rose Lip + Cheek Oil Stain into the apples and let it melt into the skin. Dewy, flushed, maybe a little too much blush in the best possible way.

C Blush Placement: For a Lifted, Sculpted Look
C placement is basically the blush version of a facelift. Cheekbones higher. Face sculpted. Suddenly you're wondering if you even need contour anymore.
The magic is in keeping everything toward the outer cheek. It's especially good on fuller or rounder faces where it creates a little more length, or anytime you'd like your bone structure to make itself known.
How to: start at the high point of the cheekbone and sweep your blush toward the temple, curving it around the outer eye into a C. You can even take a whisper toward the tail of the brow to really commit to the lift.
Keep the strongest pigment toward the outer cheekbone. The further you blend onto the apples, the further you get from that sky-high cheekbone situation you came here for.
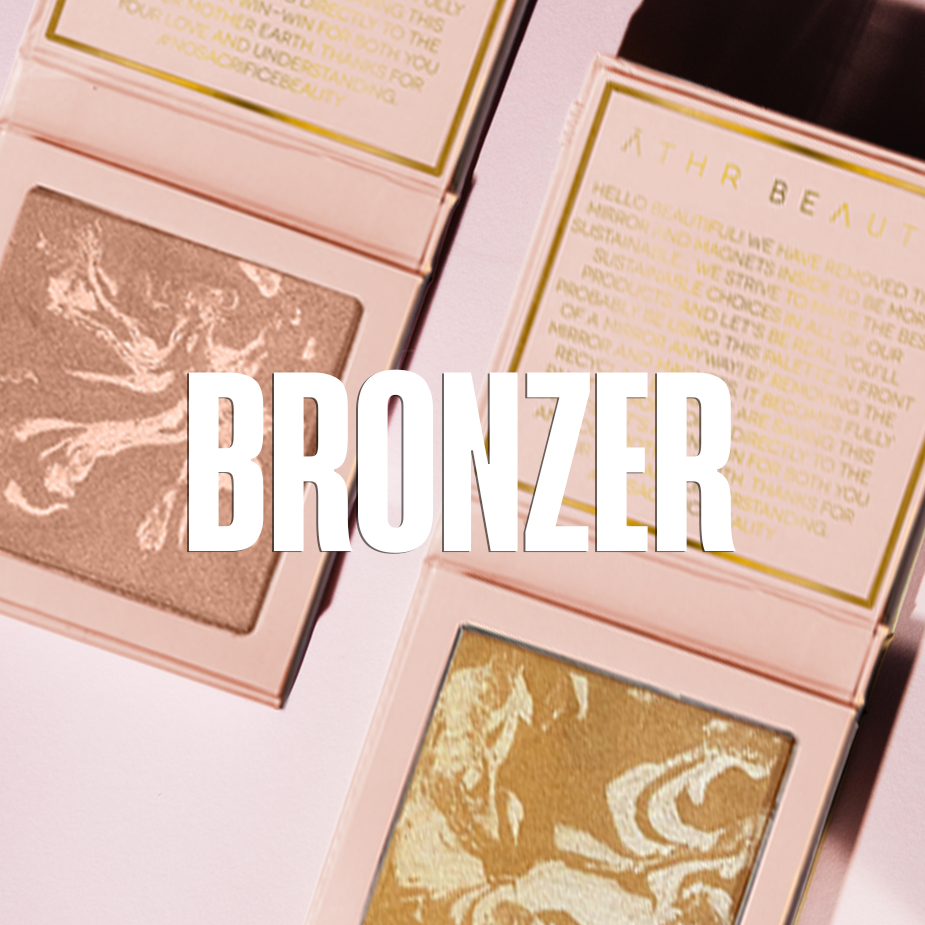
For the C, reach for powder. Dust Crystal Charged Cheek Palette along the tops of the cheekbones and into the temples, blurring the edges until everything gets dreamier and hazier. Contour who?

W Blush Placement: For a Sun-Kissed Flush
W placement is summer skin in blush form. Warm cheeks, a little color across the nose, the kind of flush that looks like you've been lounging poolside all afternoon
This one's less about changing the shape of your face and more about recreating that beachy, slightly sun-drunk, salt-on-your-skin glow. Add a few faux freckles across the nose and suddenly it's giving a month in the Mediterranean.
How to: sweep blush across the tops of the cheeks, over the bridge of the nose, and back across the opposite side, tracing a loose W across the face. Use a lighter hand through the center and build a little more as you move outward.
For the W, we're back to cream. Desert Rose Lip + Cheek Oil Stain melts across the cheeks and nose for that juicy, sun-dappled finish. Add a little highlight wherever the light catches and call it a vacation.

Blush Placement Mistakes to Avoid
Getting Too Close to the Nose
Unless you're going for a W, leave a little space between your blush and your nose. Bringing pigment too far inward can make the center of the face look wider and take away some of the definition you created through the cheeks.
Blending It Everywhere
You spent all that time choosing a placement. Don't blend it into oblivion. Soften the edges while keeping most of the pigment exactly where you put it.
Letting Your Face Shape Boss You Around
Face shape is a suggestion, not an assignment. Want round, rosy cheeks on a round face? Do it. Want a sculpted C on a narrow face? Also do it. Sometimes you just want what you want.
A Little More Blush
Most of life's problems? More blush. We're not saying it fixes everything, but we're also not saying it doesn't.
Desert Rose Lip + Cheek Oil Stain or Crystal Charged Cheek Palette. Ideally, both.
We're feeling better already.

Your Blush Placement Questions, Answered
Where should you apply blush?
It depends on the effect you're after. Keep blush closer to the center for more volume through the cheeks, take it along the upper cheekbone to emphasize your natural structure, or dust it over the nose for that warm, been-outside-all-day flush.

Should blush go on the apples of your cheeks or your cheekbones?
Either. Blush on the apples gives the cheeks a rounder shape, while taking it along the upper cheekbones puts more emphasis on their natural height.
What blush placement makes your face look lifted?
Apply blush along the upper cheekbones and blend outward toward the temples in a C shape. Keeping the placement toward the outer cheek creates that pulled-up effect and puts more emphasis on your bone structure.
What blush placement makes your cheeks look fuller?
Concentrate blush around the apples in a rounded shape rather than bringing it toward the temples. Keeping the placement closer to the center creates more volume through the cheeks.
What is W blush placement?
Imagine a W stretching from one cheek, across the bridge of your nose, and onto the other. Blend until the letter disappears and you're left with that warm flush in all the places the sun tends to find first.
Where should you put blush on a round face?
Try placing blush high along the cheekbones and blending outward toward the temples. This draws the eye upward and creates more length through a round face.